Basic
Create website
On the server management page, click the
New Sitebutton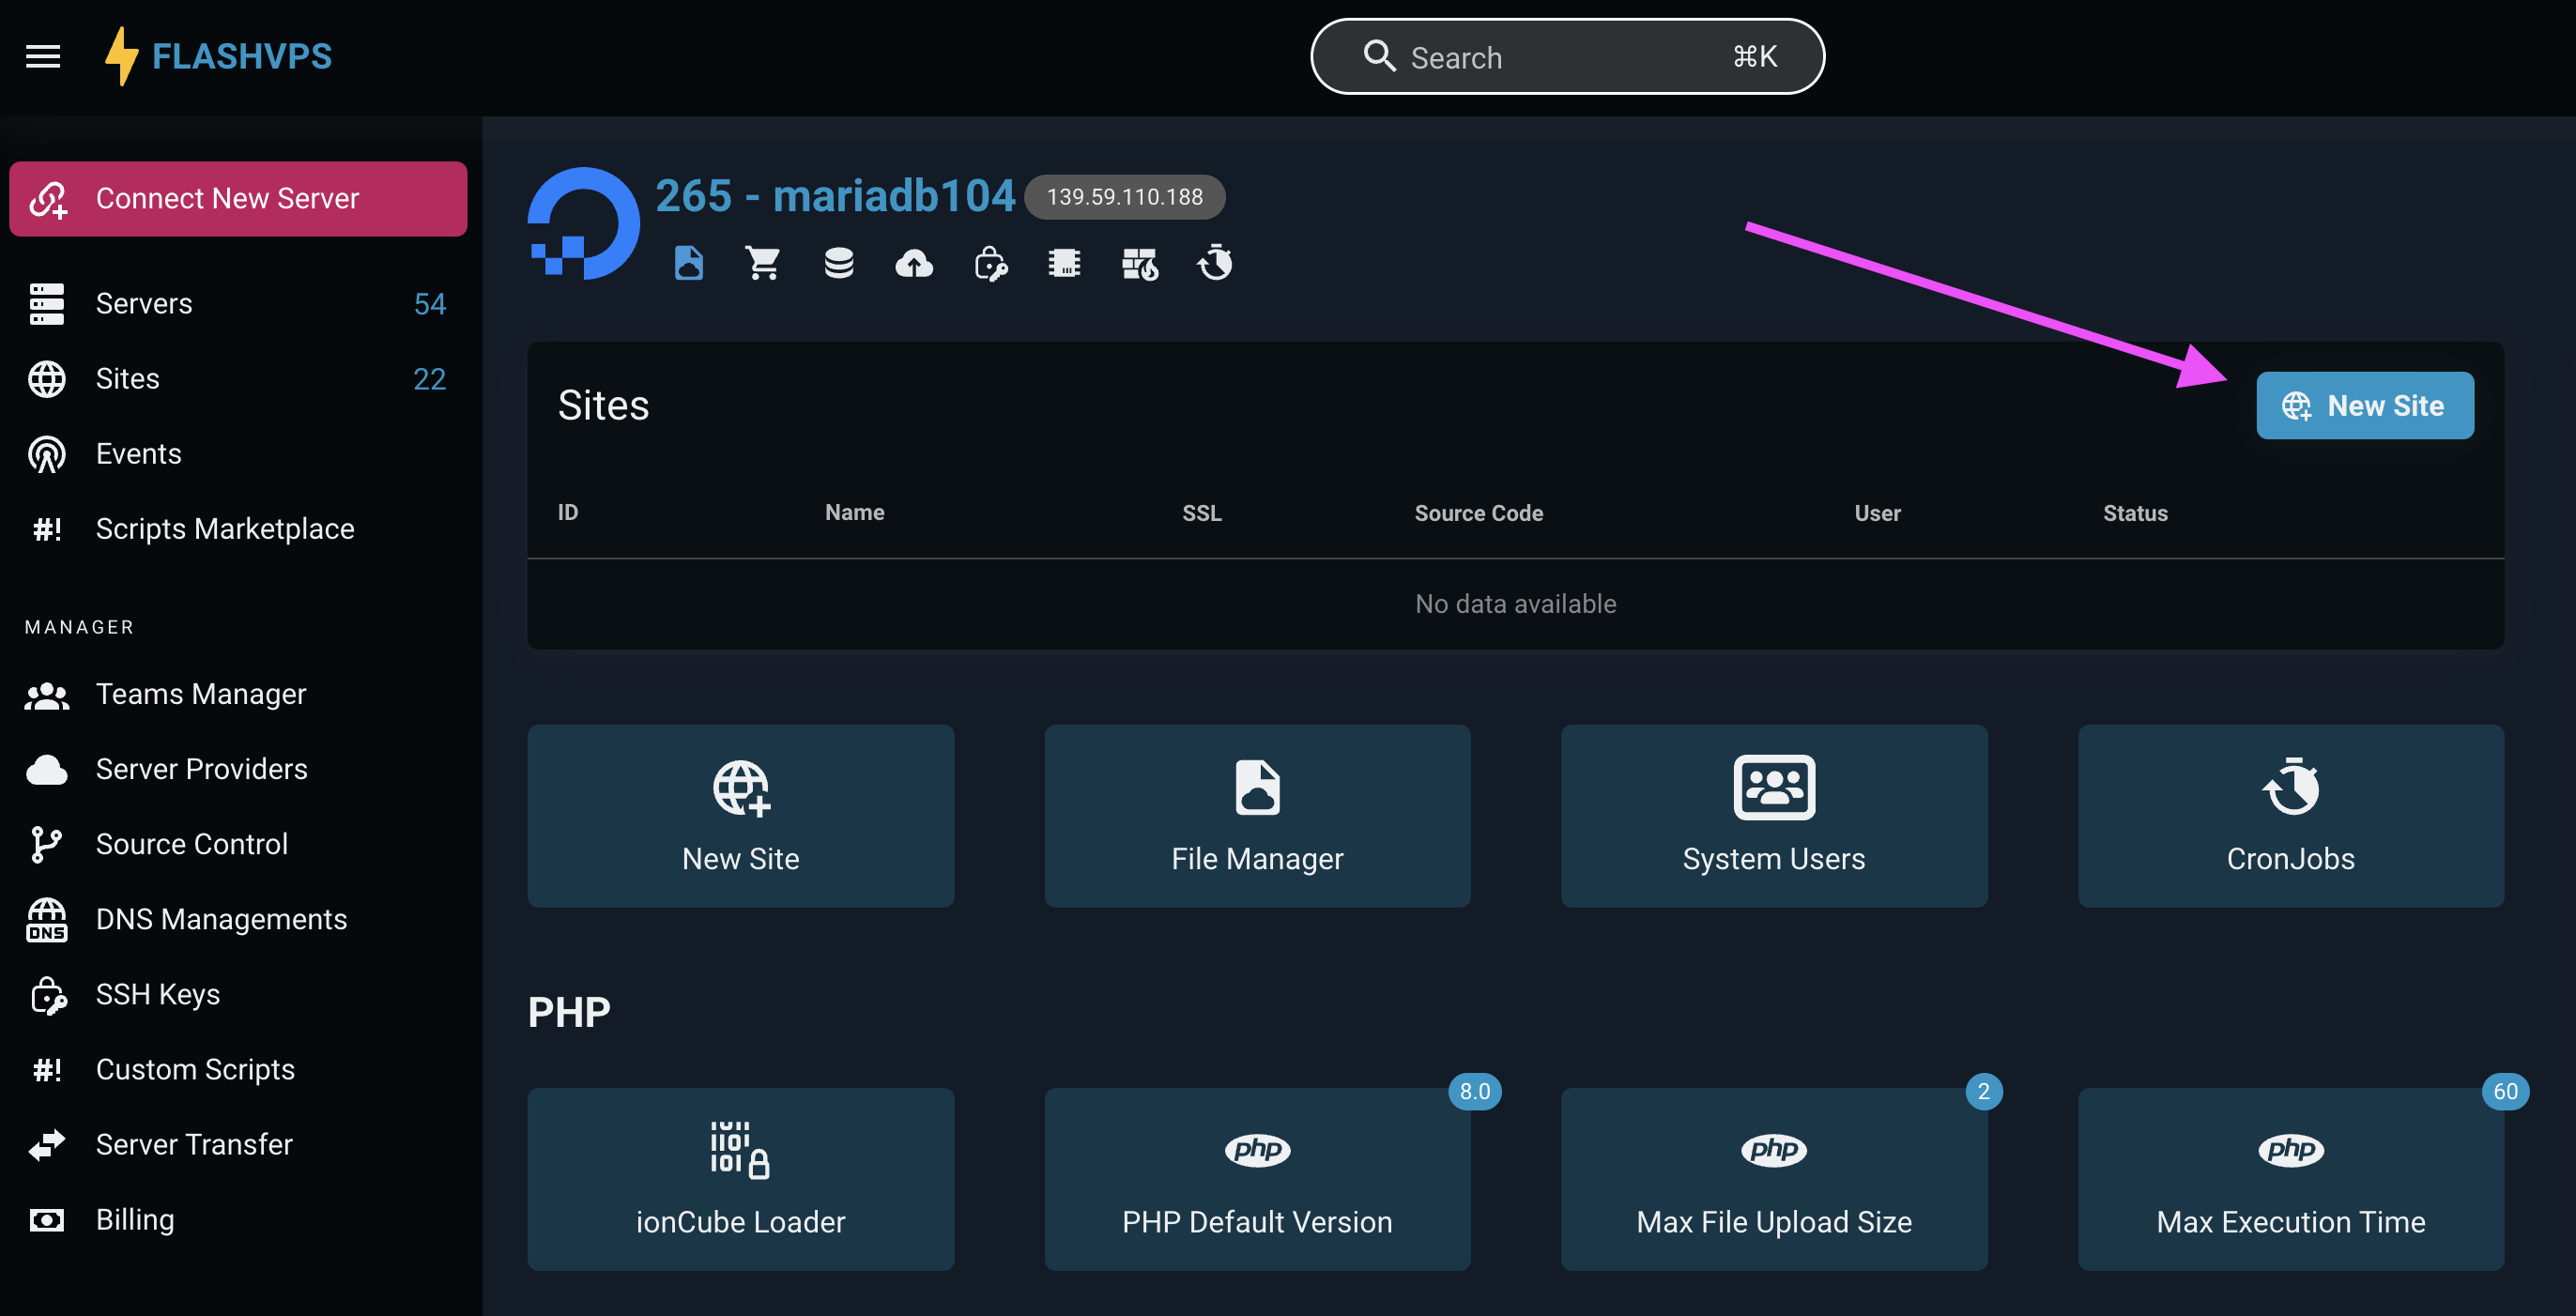
When creating a new site on your
FlashPanelserver, many configuration options are available to you:- Server: The server in which the website will be created.
- Domain Name: Domain name for the website.
- Aliases: Alias for the website (optional)
- Project Type: This option indicates whether the project installed for your website will be a PHP / Laravel project or a static HTML page. This setting is used to determine the structure of the Nginx configuration file generated for your website.
- Web Directory: Directory publicly accessible via the Internet. For Laravel applications, this is usually the
/publicdirectory. - PHP Version: If you have multiple versions of PHP installed on your server, you can choose which version will be used to serve the website.
- Enable subdomain wildcard: Subdomain wildcard allows you to set the destination for all non-existent subdomains to the current website.
- Site Isolation: This configuration setting indicates whether the PHP-FPM process should run on the specified user account or use the default user.
- Create Database: This setting indicates whether you want to create a new database for your site.
Enter information > Select
Create website
Install source code
Once the website has been created in FlashPanel, you can install an application or project. Projects contain the actual source code of your application.
Install the source code at the site's management console
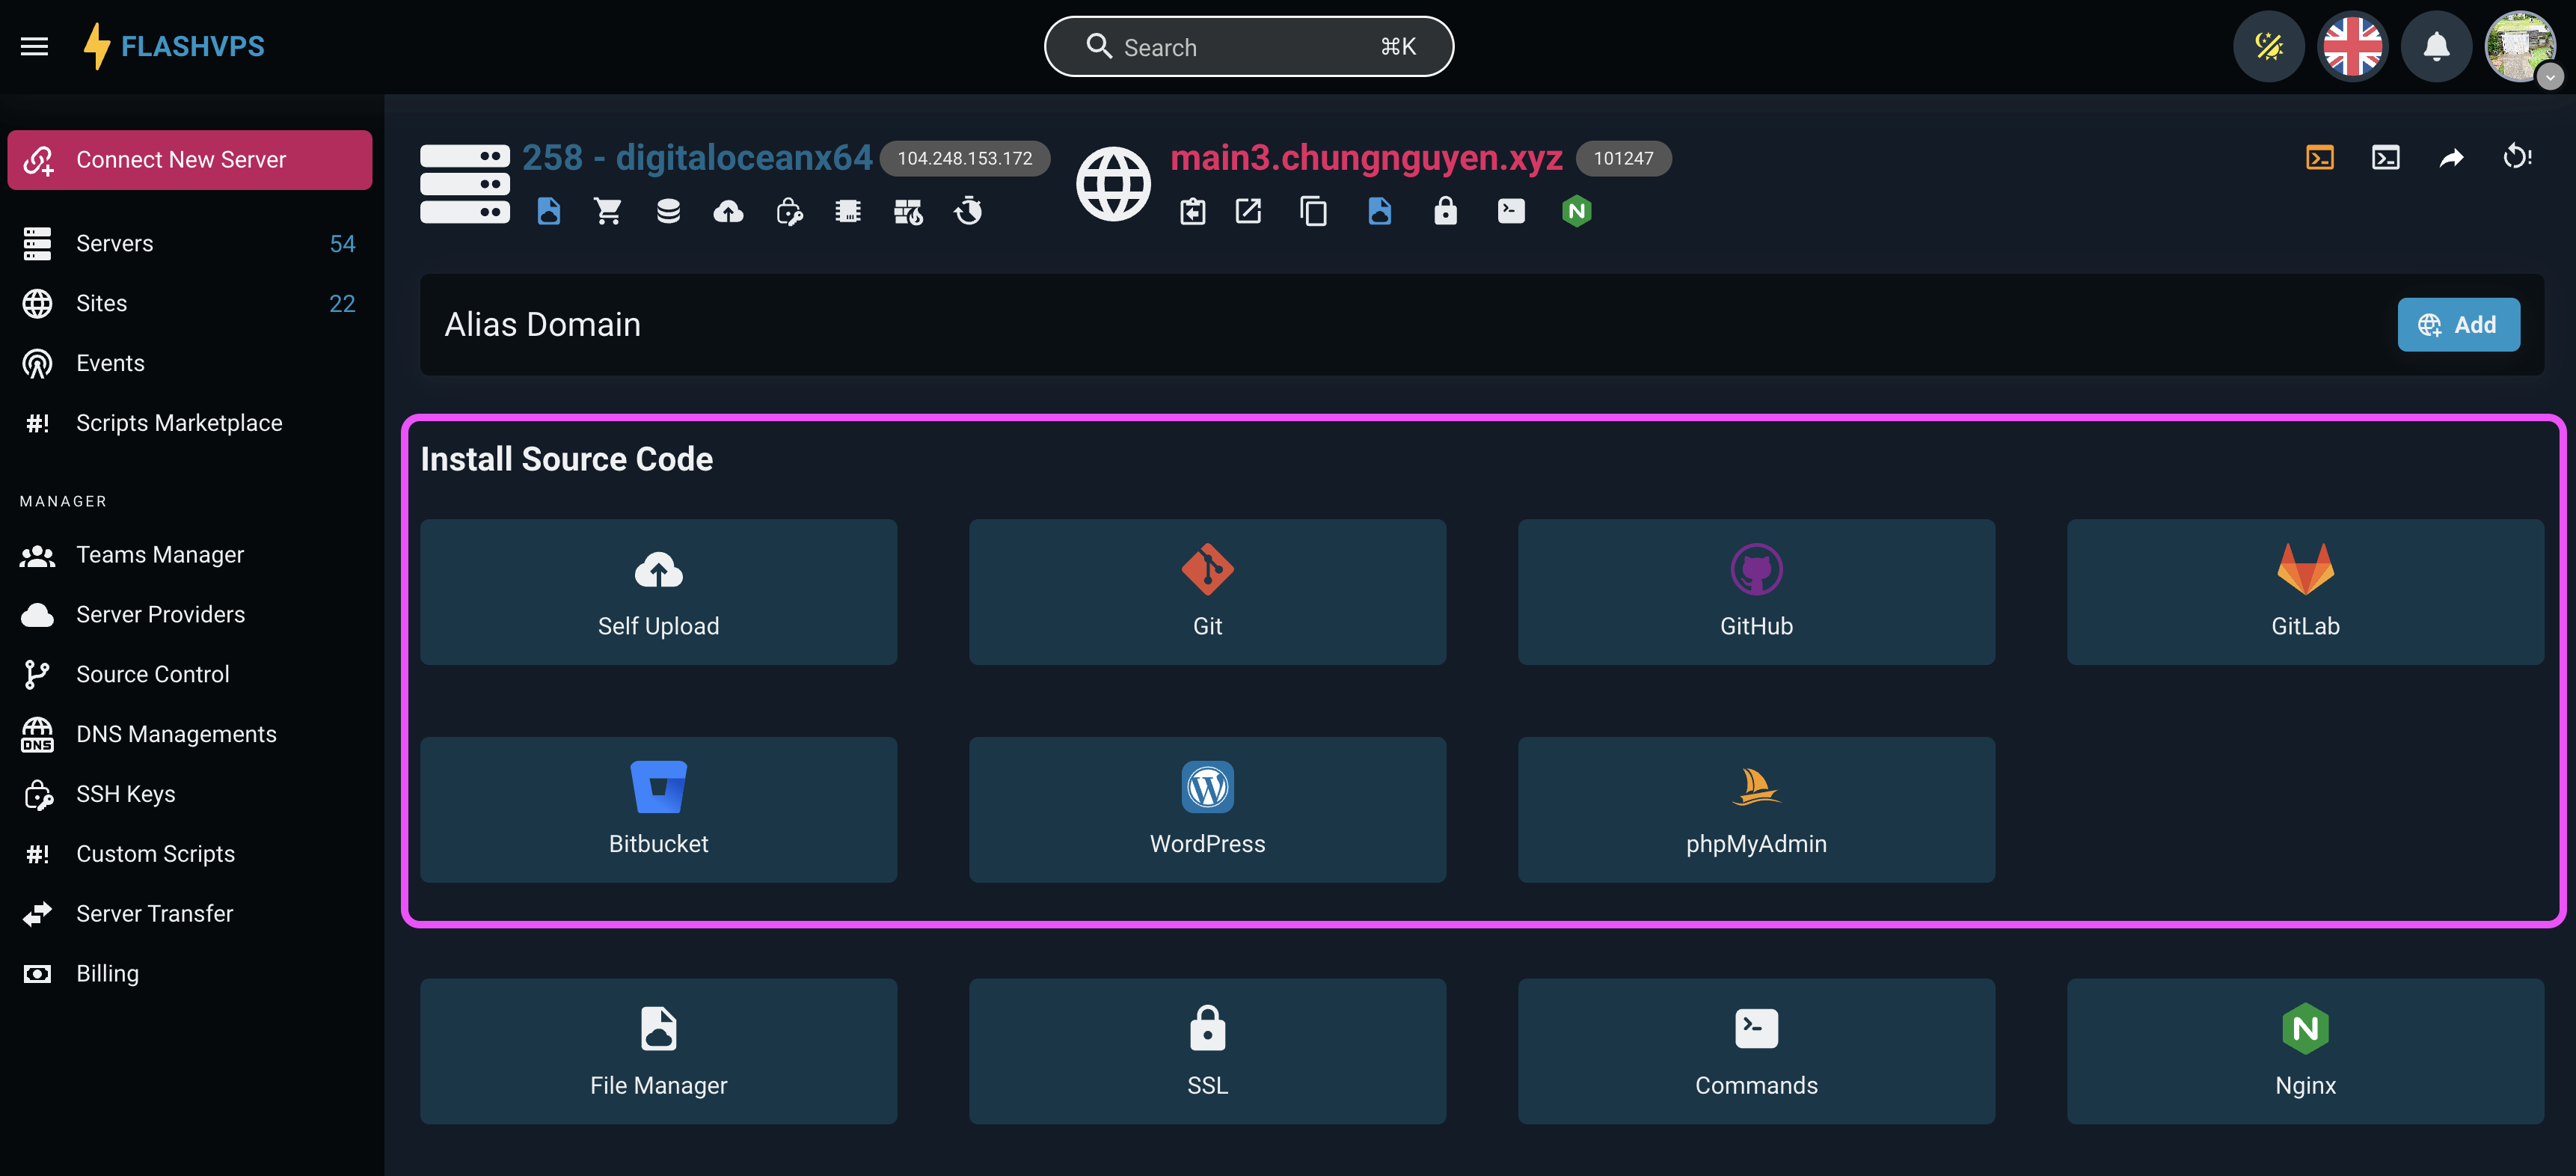
Self Upload
The goal is to hide the Source Code Settings section on the interface and let FlashPanel know that the source code was uploaded manually by you
Git Repository
! Source Control Vendor
Before you can install a Git repository, you must first ensure that you have git connect with the account FlashPanel mine.
Once you have connected your source control provider accounts, you can select a provider from one of the available options. Steps to install source code for website:
- Select
Git|Github|Gitlab|Bitbucket - If you choose
Gityou will need to add the SSH keyFlashPanelto the provider manually. - Enter the repository name, you should provide the full SSH URL, e.g.
[email protected]:user/project.git. - Enter Branch Name
- Select
Automatically add deployment key (Recommended)if you have not registered a server global key - Click the
Install Git Repositorybutton
WordPress
Steps to install Wordpress:
- Select
Wordpresssource settings - The database user and database fields can be left blank.
FlashPanelwill be created automatically for you. Or Create database if you don't have one. - Select
Wordpress Settings
After the installation process is complete. You can go to your website domain and continue installing WordPress from the browser.
! WordPress Security
You should proceed with WordPress installation once FlashPanel has installed it for you, so that it is secure with your username and password. You can also choose to create a new Security Rule before installing WordPress so that your installation is password protected.
phpMyAdmin
Steps to install source code phpMyAdmin:
- Select the phpMyAdmin source installation option
- Select
Install phpMyAdmin
Once FlashPanel has installed phpMyAdmin, you can then log in to your installation using any combination of your database username and password.
Default website

When you're ready to convert your app to an official domain, you can easily Create a website with your domain name.
Default Nginx Template
Below is an example of the default Nginx site configuration used by FlashPanel.
server {
    listen 80;
    listen [::]:80;

    server_name www.your-domain.com;

    if ($http_x_forwarded_proto = 'https') {
        return 301 https://your-domain.com$request_uri;
    }

    return 301 $scheme://your-domain.com$request_uri;
}

server{
    listen 80;
    listen [::]:80;
    server_name your-domain.com;
    server_tokens off;
    root /home/flashpanel/your-domain.com;

    # ssl_certificate ###
    # ssl_certificate_key ###

    # https://ssl-config.mozilla.org/
    # Ubuntu 20.04 UP
    ssl_protocols TLSv1.2 TLSv1.3;
    ssl_ciphers XXXXXX;
    ssl_prefer_server_ciphers off;
    ssl_dhparam /etc/nginx/dhparams.pem;

    add_header X-Frame-Options "SAMEORIGIN";
    add_header X-XSS-Protection "1; mode=block";
    add_header X-Content-Type-Options "nosniff";

    index index.html index.php;

    charset utf-8;

    # USER CUSTOM CONFIG (CAN MOVE, DO NOT REMOVE!)
    location ^~ /.well-known/acme-challenge {
        auth_basic off;
        allow all;
        alias /home/flashpanel/.ssl;
    }

    location / {
        try_files $uri $uri/ /index.php?$query_string;
    }

    location = /favicon.ico { access_log off; log_not_found off; }
    location = /robots.txt { access_log off; log_not_found off; }

    access_log off;
    error_log /var/log/nginx/your-domain.com-error.log error;

    error_page 404 /index.php;

    location ~ \.php$ {
        try_files $uri $uri/ =404;
        fastcgi_split_path_info ^(.+\.php)(/.+)$;
        fastcgi_pass unix:/var/run/php/php7.4-fpm.sock;
        fastcgi_index index.php;
        include fastcgi_params;
    }

    # Deny files starting with a . (dot) except .well-known
    location ~ /\.(?!well-known).* {
        deny all;
    }

    # WordPress: Add a slash at the end of request */wp-admin
    rewrite /wp-admin$ $scheme://$host$uri/ permanent;

    # WordPress: deny general stuff
    location ~* ^/(?:xmlrpc\.php|wp-links-opml\.php|wp-config\.php|wp-config-sample\.php|readme\.html|license\.txt)$ {
        deny all;
    }

    location ~* \.(3gp|gif|jpg|jpeg|png|ico|wmv|avi|asf|asx|mpg|mpeg|mp4|pls|mp3|mid|wav|swf|flv|exe|zip|tar| rar|gz|tgz|bz2|uha|7z|doc|docx|xls|xlsx|pdf|iso|eot|svg|ttf|woff|woff2)$ {
      gzip_static off;
      add_header Pragma public;
      add_header Cache-Control "public, must-revalidate, proxy-revalidate";
      access_log off;
      expires 30d;
      break; break;
    }

    location ~* \.(txt|js|css)$ {
      add_header Pragma public;
      add_header Cache-Control "public, must-revalidate, proxy-revalidate";
      access_log off;
      expires 30d;
      break; break;
    }

}
PHP version
If your server has multiple versions of PHP installed, you can switch the version your website uses at any time.
- At the website management dashboard >
Utilitiessection > Select theUpdate PHP Versionbox - Select the PHP version and click the
Updatebutton
WARNING
When switching the version your website is using, you should ensure that:
My server has all additional PHP extensions/modules installed for that version. Failure to install additional modules can make your website unresponsive.
You will also need to update your site's deployment script to reload the correct PHP-FPM version and call the correct PHP version when running any PHP commands.