Deployment
Deployment is the process in which your code is downloaded from the source control provider onto your server. FlashPanel shows deployments as a table, the table shows what (logs) were deployed, when they were deployed, and how long they lasted. 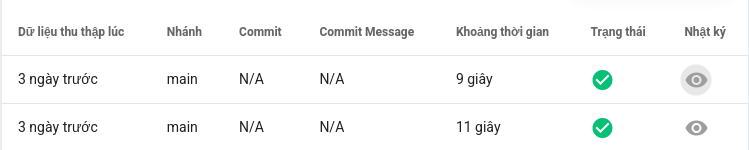
.env file
Some applications, such as those built with the Laravel Framework, may require an .env file to configure settings such as the database and caching. You can create and edit your Environment files in the management console of the FlashPanel site.
At the site management console > Select .env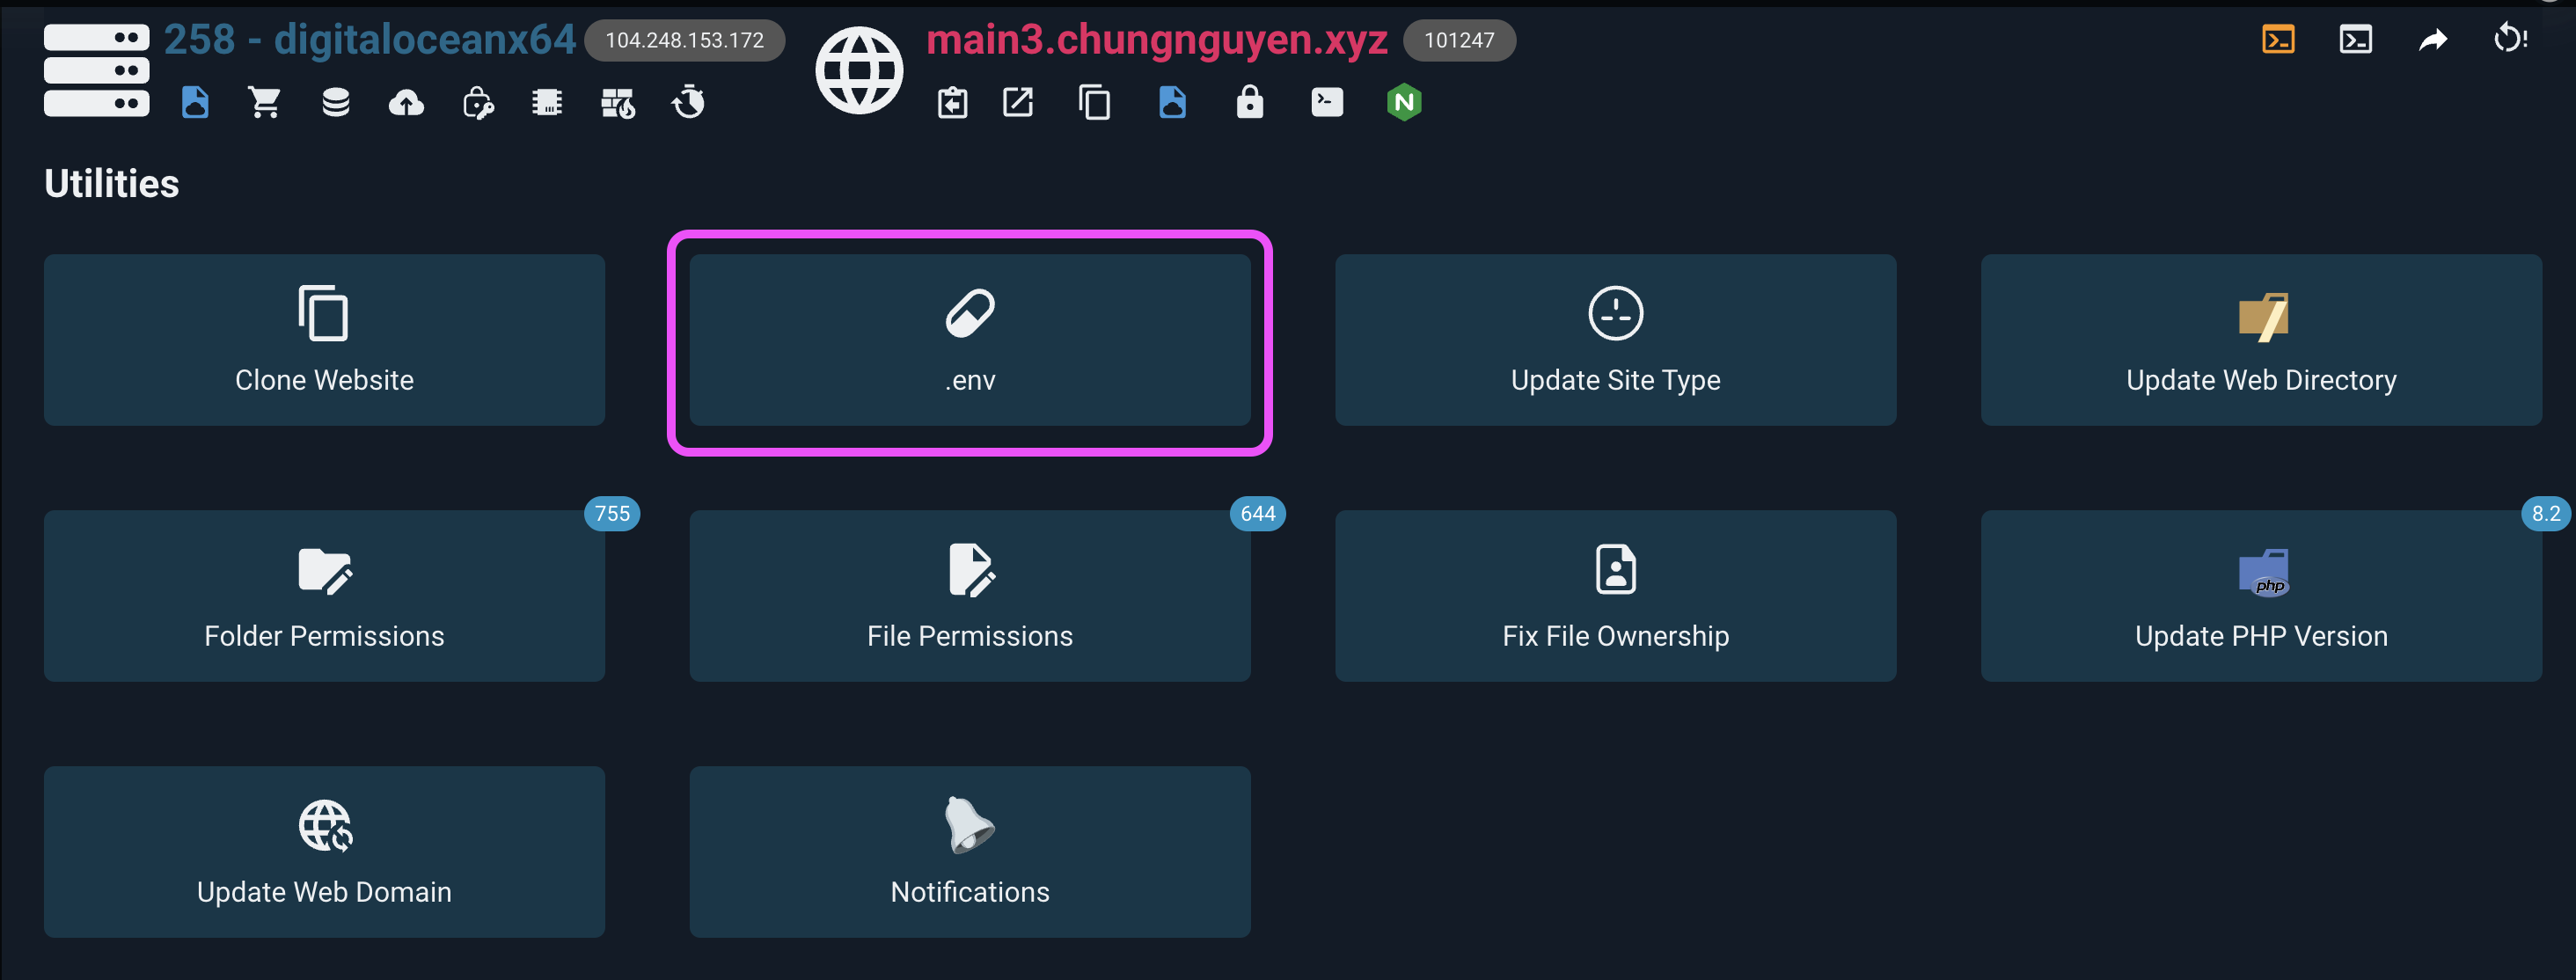
! Automatic Environment Files
If your project contains a .env.example file, FlashPanel will automatically copy this file and replace some settings to match the server's database settings your. An empty .env.example file may result in an empty environment file on first deployment.
Automatic deployment
The Auto-deploy feature of FlashPanel allows you to easily deploy your projects when you push code to your source control provider. When you push to your configured deployment branch, FlashPanel will pull your latest code from source control and run your application's configured deployment script. You can enable auto-deployment of FlashPanel following:
- At the website management dashboard
- Select the
Deploymentstab and click theEnable auto deploybutton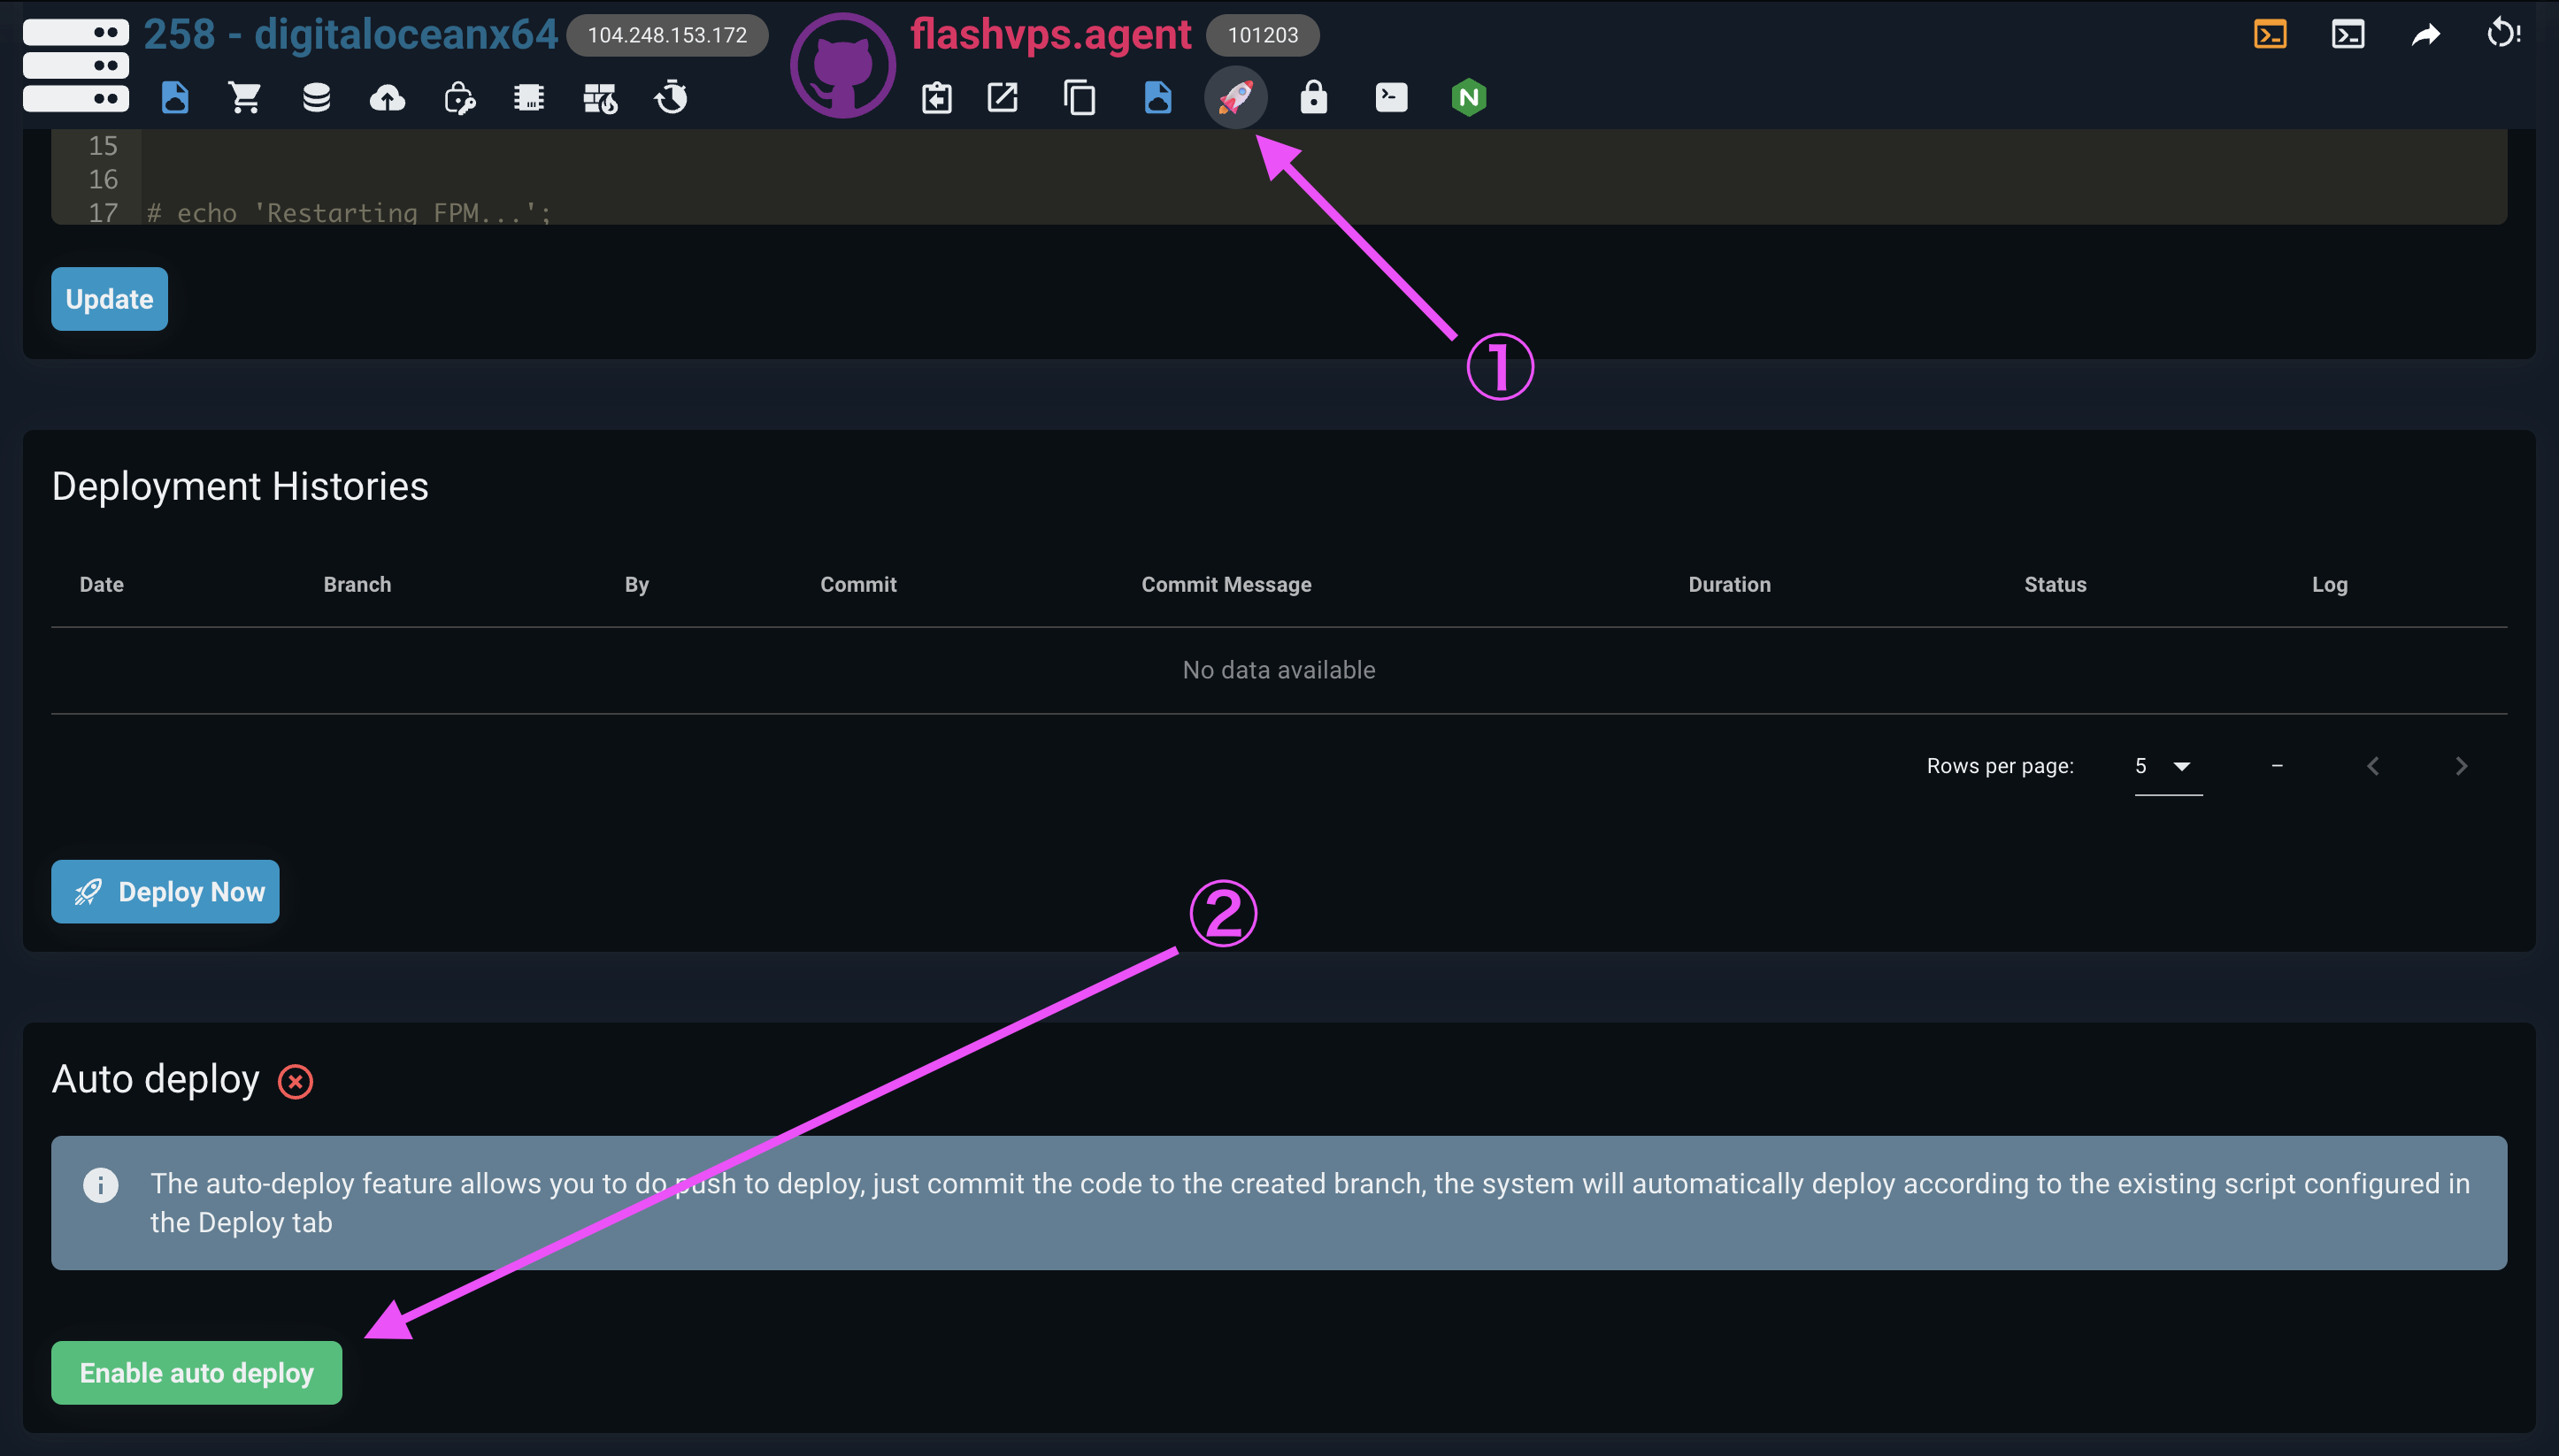
Deployment script
The commands that are executed on your server when your project is deployed are determined by your site's deployment script. Of course, this deployment script can be edited directly in the FlashPanel user interface.
FlashPanel provides a number of variables for you to easily use
FLASHPANEL_SITE_ROOT='/path/to/yoursite.com'
FLASHPANEL_CODE_BRANCH='siteBranch'
FLASHPANEL_PHP='your-phpVersion'
FLASHPANEL_PHP_FPM='your-phpVersion-fpm'
By default, your site's deployment script will:
cd $FLASHPANEL_SITE_ROOT
git pull origin $FLASHPANEL_CODE_BRANCH
echo 'Restarting FPM...';
sudo -S service $FLASHPANEL_PHP_FPM reload
PHP Versions
If you have multiple PHP versions installed on your server, your deployment script may need to be updated to use the correct PHP version.
By default, php will always point to the active PHP version used on the CLI. If you need to use a different version of PHP, you must use phpx.x where x.x corresponds to the version used (e.g. php8.1) when calling PHP commands.
The deployment script for newly created sites uses the $FLASHPANEL_PHP environment variable. This environment variable will always contain the name of the current PHP version configured for the site, so no additional changes are needed to your deployment script when using this variable and when switching the PHP version of your website.
Environment variables
FlashPanel will automatically include the following environment variables in your deployment script at runtime:
| Variable | Description |
|---|---|
FLASHPANEL_PHP_FPM | The PHP-FPM process name is being used by FlashPanel. |
FLASHPANEL_PHP | The PHP version being used by the website or server FlashPanel. |
FLASHPANEL_CODE_BRANCH | The name of the branch to be deployed. |
FLASHPANEL_SITE_ROOT | The root of the deployment path, e.g. /home/flashpanel/mysite.com |
WARNING
Environment Variables
FlashPanel will prefix any variables introduced with FLASHPANEL_. Please do not use this 'namespace' when defining your own environment variables.
Deploy from CI
So far, we have discussed deploying FlashPanel pages from the FlashPanel frontend or by using the 'Auto-deploy' feature ' of FlashPanel. However, you can also deploy them from the CI platform of your choice.
To perform a deployment of FlashPanel from a CI platform, you can use Deploy from CI.
- At the site management console > Select
Auto-trigger deployment URL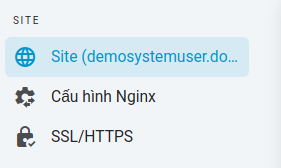

- Select
Refresh deployment token
Use the Deployment Trigger
You can perform a deployment at any time by instructing your CI platform to make a GET or POST request to the URL shown in your site details.
While you can refresh your website token at any time, you'll need to update any services using this URL after you refresh the token.
Deployment branch
You can change the deployed branch for your site by updating the deployment branch settings. Once you have updated the deployment branch, you will then need to select Deploy Now to manually enable the new deployment to the new deployment branch.
Steps to update deployment branch:
- At the site management console > Select
Update deployment branch - Enter the name of the branch to change
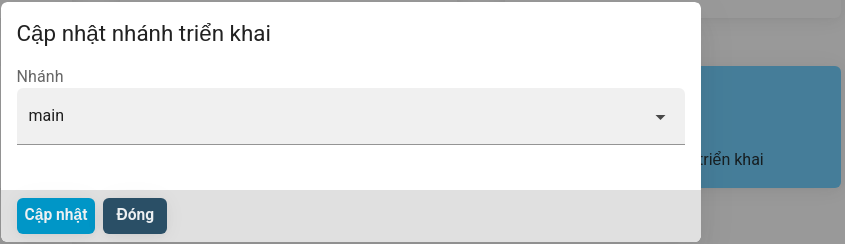
- Select
Update
Steps to manually enable deploy now:
- At the site management console > Select
Deployment and History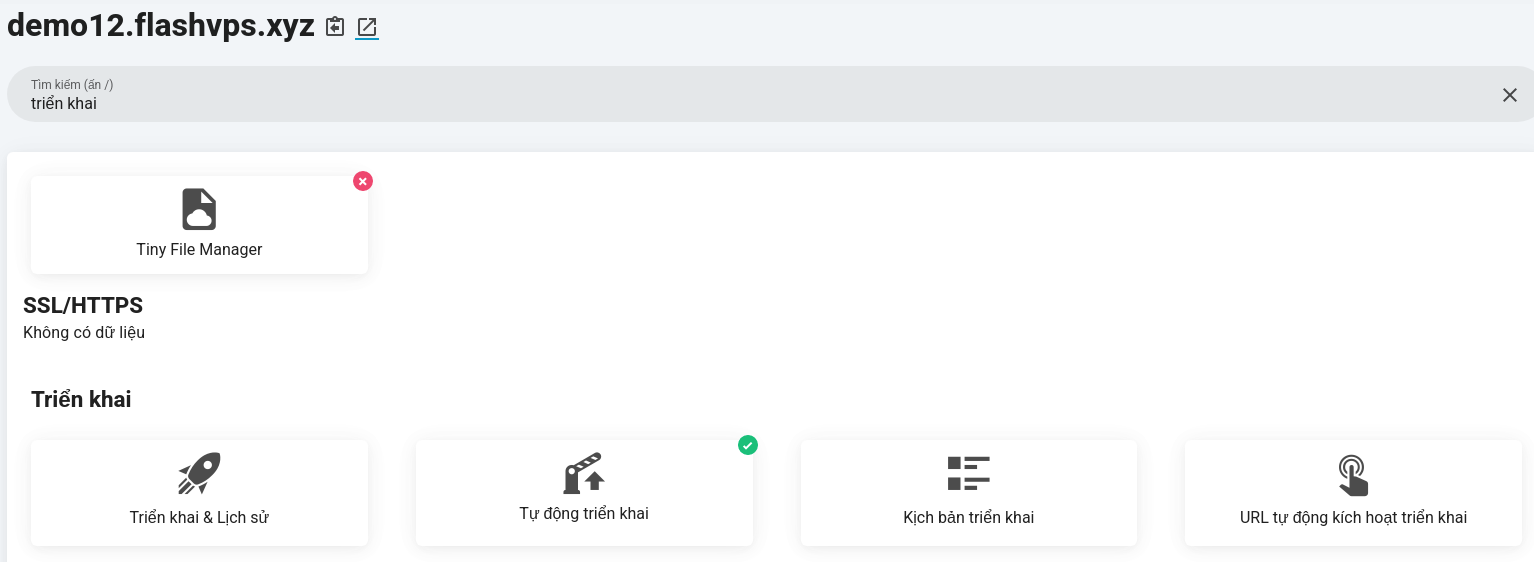
- Select
Deploy now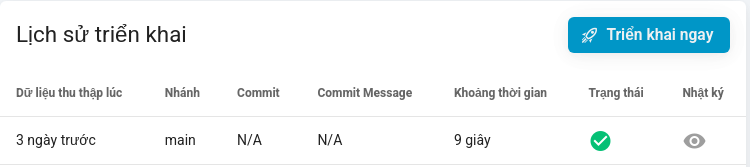
Git Remote
Updating the Git Remote control from the site management console will update the Git Remote URL on your server; however, the website will not be removed or unavailable during this process. The updated Git Remote must contain the same Git repository/history as the currently installed repository.
You should not use this function to install a completely different project on a website. If you want to install a completely different project, you should completely uninstall the existing repository using the 'Remove code' button in the Site Management Console.
Steps to update Git Remote:
- At the site management console > Select
Git Remote Update - Change the provider or full path of the repository.
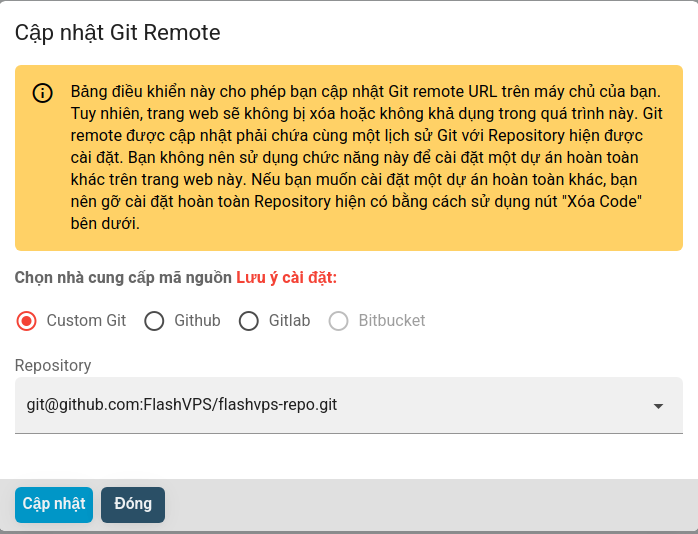
- Select
Update
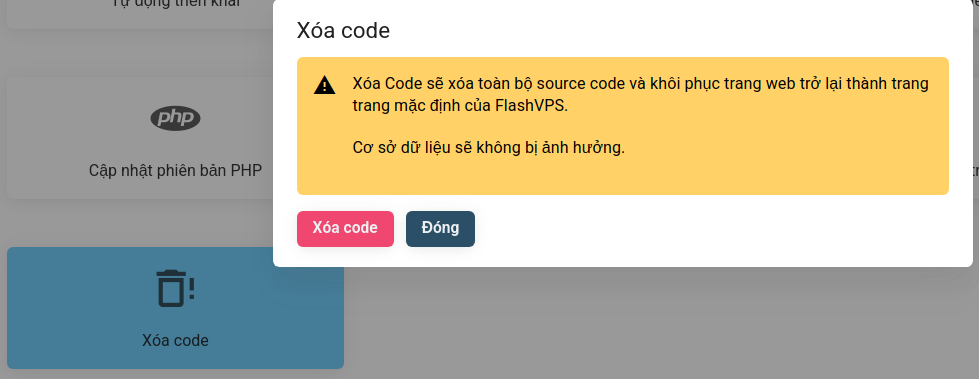
Steps to Remove code:
- At the website management dashboard > Select
Remove code - Select
Delete code